Cactus Ads
This feature requires Cactus Video Ads plugin to work
NOTE 1: All the Ads must have the Expiry date to work well.
NOTE 2: Video Ads function only supports:
- Video post can be YouTube, Vimeo (Video URL) or self-hosted (Video File) video
- Video Ads can be YouTube, Vimeo or self-hosted video
- If Video Post is a self-hosted video, no matter which player you select in Video Extensions > Video Post > Player for Video File, when using cactus-ads, Native Browser Player will be used instead. (This is due to each other custom players have their own API so we can not control them to manage the ads)
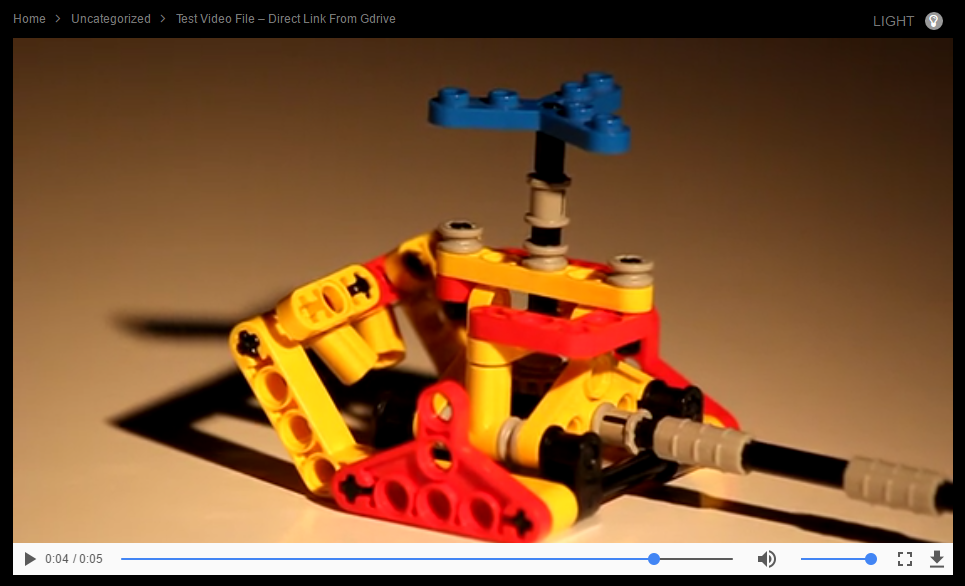 Native Browser Player
1. Add new Cactus Ad:
- Go to Ads > Add New
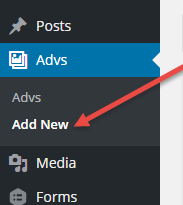
- Ads Type – Choose type of advertisement. There are 3 Ad types as below:
- Image Ad
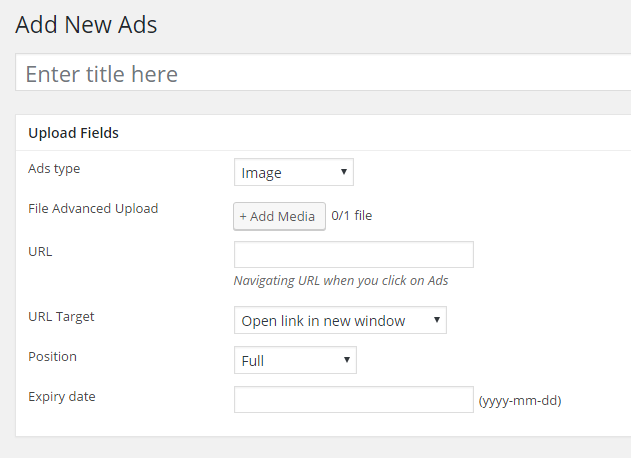
- File Advanced Upload: Upload advertising images
- URL: Navigating URL when you click on Ads
- URL Target: Open link in a new window/Open link in current window
- Position: Full/Top/Bottom
- Expiry date: (yyyy-mm-dd) (* required)
- Video Ad
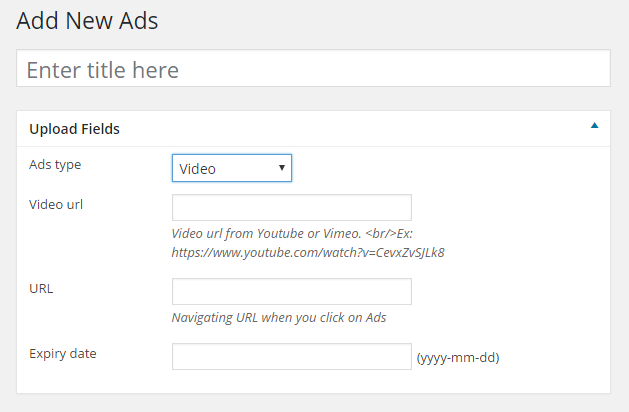
- Video URL: Video url from Youtube or Vimeo. E.g.
https://www.youtube.com/watch?v=CevxZvSJLk8 - URL: Navigating URL when you click on Ads
- Expiry date: (yyyy-mm-dd) (* required)
- Video URL: Video url from Youtube or Vimeo. E.g.
- HTML Ad: can be HTML & direct JS code. NOTE: Since the Ad of VideoPro theme is called by JS code, it doesn’t allow to load an external JS Ad due to the browser policy (It isn’t possible to write into a document from an asynchronously-loaded external script unless it is explicitly opened)
- HTML Ad:
- Position: Full/Top/Bottom
- Expiry date: (yyyy-mm-dd) (* required)
- Image Ad
2. Assign a Image/Video/HTML Ad to a Video post
- Go to Ads and copy Ad ID
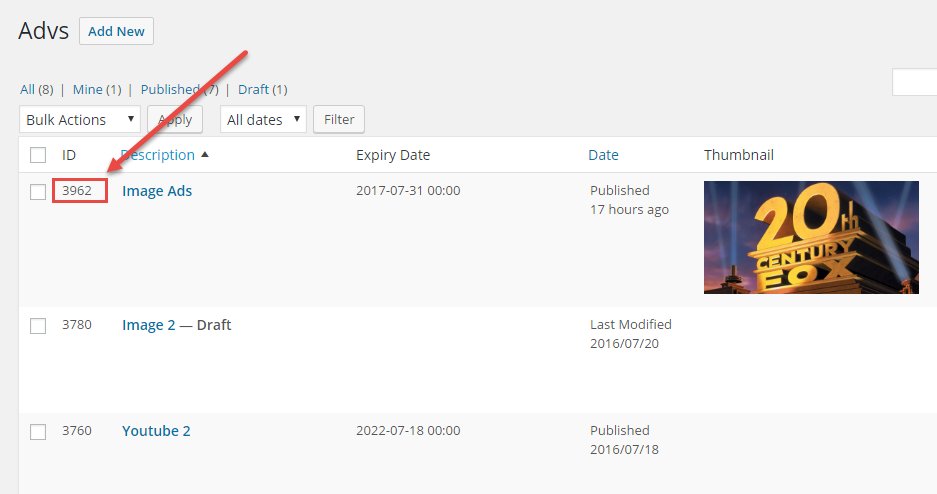
- Go to Posts > Add New/ Edit post > Video Ads

- Enter ID in Ads ID. To select randomly from active Advs, enter 0
- Click Publish/ Update
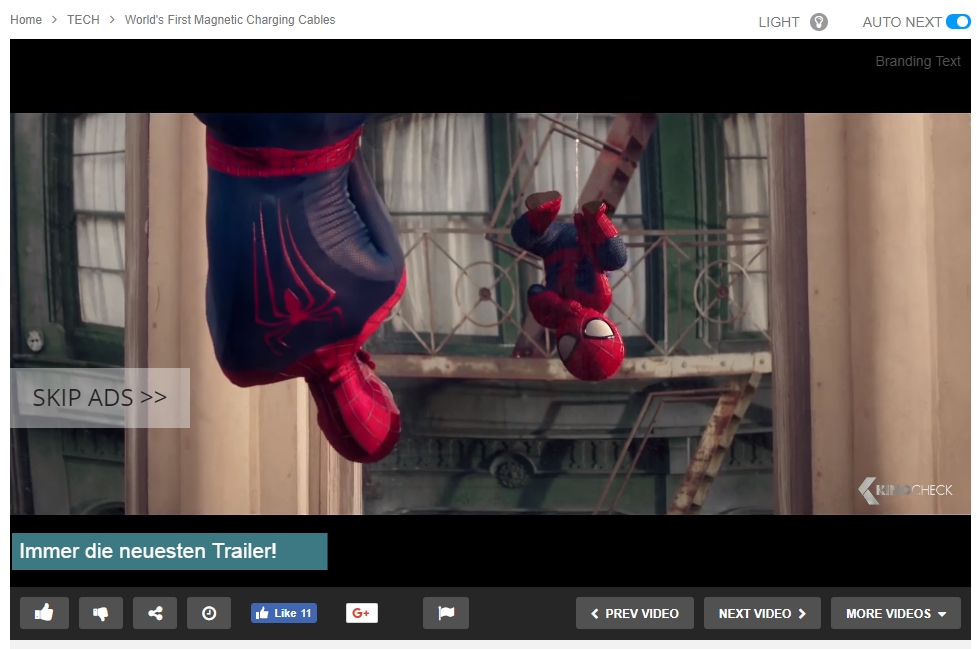
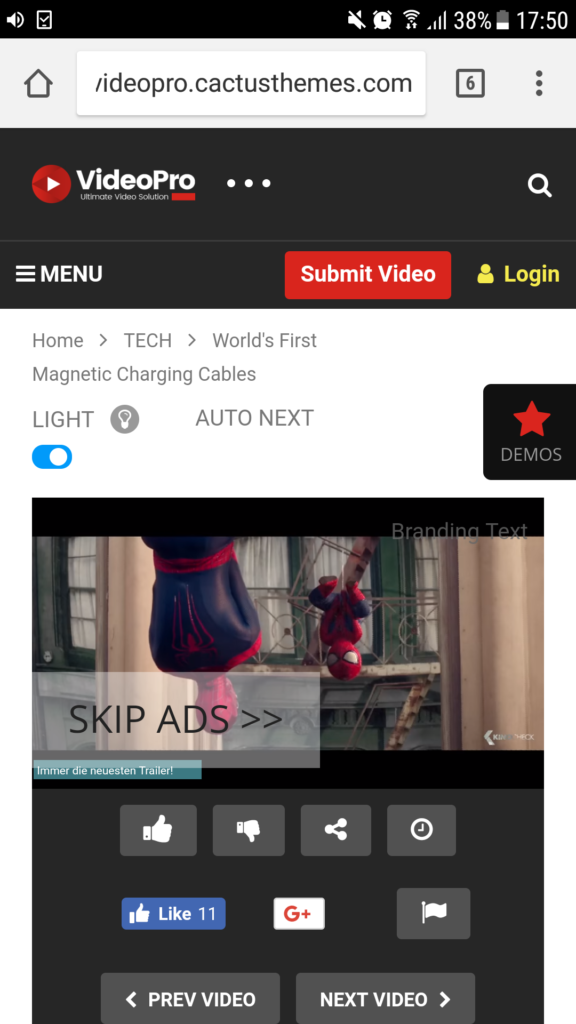
Please check out the demo & these screenshots:

